
If you’ve ever noticed dust accumulating on surfaces shortly after cleaning, your ductwork might be to blame. Poorly maintained ducts can circulate pollutants throughout your home, affecting air quality and health. Fortunately, addressing these issues doesn’t always require a professional. By understanding some simple DIY repair techniques, you can improve the air you breathe. Discover how straightforward it can be to enhance your indoor environment.
Understanding the Importance of Ductwork in Indoor Air Quality
While you may not think about it often, the ductwork in your home plays an essential role in maintaining indoor air quality.
It’s the pathway for heated and cooled air, ensuring comfort throughout your space. Clean, well-maintained ducts prevent dust, allergens, and pollutants from circulating, making your indoor environment healthier. If your ducts are dirty or damaged, you might notice a decline in air quality, leading to respiratory issues or allergies.
Proper ductwork design also enhances system efficiency, reducing energy costs. When air flows smoothly, your HVAC system doesn’t have to work as hard, which can extend its lifespan. Additionally, addressing issues such as ductwork problems can significantly improve your home’s air quality.
Regular inspections and maintenance can identify potential issues before they become major headaches. Ultimately, prioritizing your ductwork isn’t just about comfort; it’s about fostering a healthy living space for you and your family.
Keep your ducts in check, and enjoy the benefits of clean, fresh air year-round.
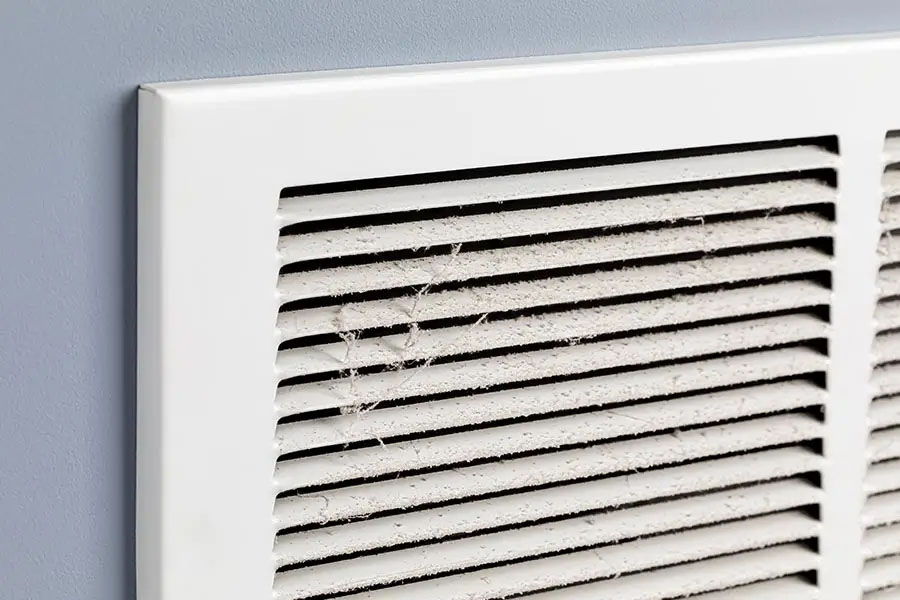
Common Ductwork Issues and Their Impact on Air Quality
Ductwork issues can sneak up on you, but they greatly impact your home’s air quality.
When your ducts aren’t functioning properly, you might experience poor airflow, allergens, and even higher energy bills. Identifying these common problems early can make a significant difference.
- Leaks and cracks allow dust, mold, and other pollutants to enter your air supply, worsening indoor air quality.
- Poor insulation can lead to temperature imbalances, causing your HVAC system to work harder and circulate stale air.
- Blockages from debris can restrict airflow, leading to uneven heating or cooling and creating uncomfortable living spaces.
Additionally, addressing these ductwork issues is essential for reducing pollutants and ensuring a healthier indoor environment.
Tools and Materials Needed for DIY Ductwork Repair
When tackling ductwork repairs, having the right tools and materials on hand is crucial for achieving effective results. Start with safety gear like gloves, goggles, and a mask to protect yourself from dust and debris.
You’ll need a sturdy ladder to access your ducts, along with a screwdriver or drill for disassembling parts. A utility knife is handy for cutting through duct tape and insulation.
For sealing leaks, grab high-quality duct tape, mastic sealant, or metal tape, as these will provide a secure bond. If you’re replacing sections of ductwork, have sheet metal shears ready for precise cuts.
Insulation material may also be necessary for ideal energy efficiency. Finally, keep a vacuum handy to clean up any debris as you work. Properly sized, sealed, and routed ducts can significantly enhance comfort and overall air quality in your home.
With these tools and materials, you’ll be well-prepared to tackle your ductwork repair project efficiently.
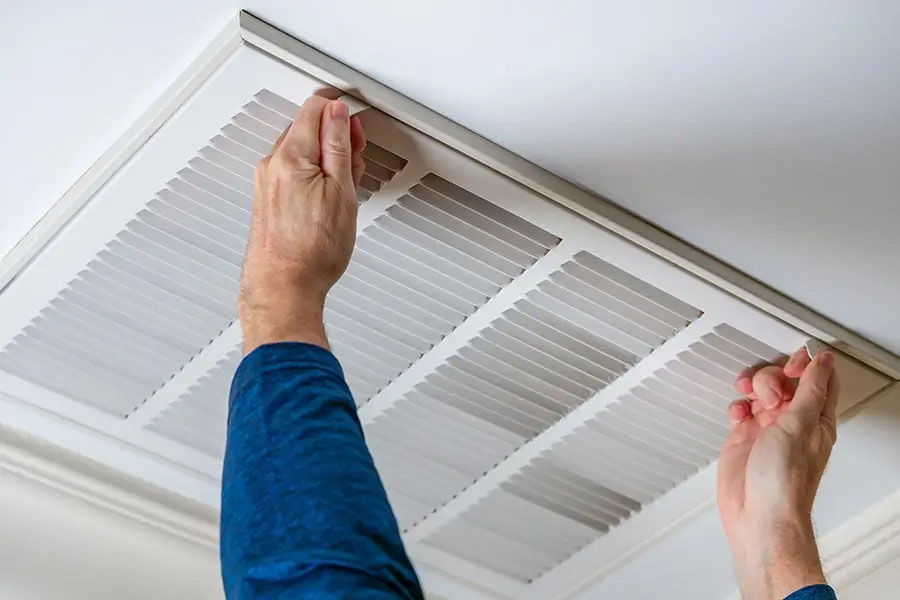
Step-by-Step Guide to Repairing Ductwork
Now that you’ve gathered all the necessary tools and materials, it’s time to get started on your ductwork repair.
First, inspect the ducts for any visible damage or leaks. Use your flashlight to check for loose connections or punctures.
Next, clean the area around the repair site to guarantee a solid seal.
For small holes, apply duct tape or a patch, while larger gaps may require mastic sealant or metal tape. Secure the patch tightly, making sure no air can escape.
Finally, recheck all connections to confirm they’re snug.
- Always wear safety goggles and gloves for protection.
- Work in a well-ventilated area to avoid inhaling dust or debris.
- Double-check your work to verify everything is sealed properly. Additionally, maintaining your ductwork can significantly enhance your indoor air quality and overall HVAC efficiency.
Maintenance Tips for Sustaining Air Quality After Repairs
To maintain ideal air quality after your ductwork repairs, it’s essential to implement a few simple yet effective maintenance tips.
First, regularly check and replace your air filters every 1-3 months. Clean filters guarantee optimal airflow and trap dust and allergens.
Next, schedule routine duct inspections at least once a year to catch any potential issues early on.
Additionally, keep your home free of excess dust by vacuuming and dusting frequently. This not only improves air quality but also reduces strain on your HVAC system.
Seal any gaps or leaks you find in your ductwork; this prevents contaminants from entering your system.
Finally, consider investing in a dehumidifier if humidity levels are high, as it can greatly impact air quality.
Conclusion
By tackling DIY ductwork repairs, you’re not just fixing up your home—you’re boosting your family’s health and comfort. Think of it like upgrading from a flip phone to a smartphone; the difference is night and day! Regular maintenance and timely repairs can keep your indoor air fresh and clean for years to come. So grab your tools and get started—you’ll breathe easier knowing you’ve taken charge of your air quality!